Insights User Guide
Feature - Insights tasks
Insights Tasks is a unique feature allowing you to set up notes and To Do lists against any combination of Client, Ticket Board, Ticket Type, Sub-type and Item.
For example, if you have a specific multi-stage process you follow to set up a new user for a specific client, you can create a task that shows at the top of Insights when the ticket matches the client, the Ticket Type matches Request, and the Sub-type matches New User.
 An example task in Insights
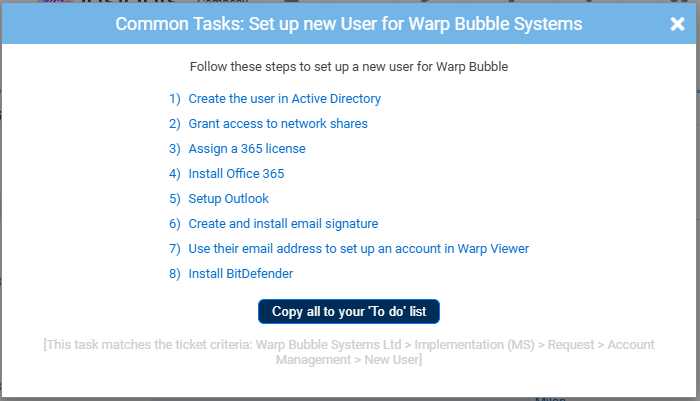 Example steps for creating a new user for a client
Any technician that works on a ticket where the criteria are met will see the task at the top of the Insights POD inside ConnectWise, and clicking it will list the steps they have to take to set up a new user for that company.
All of the tasks can be instantly added to the technician's To Do List in the Insights Job Notes section, and each task can be ticked off as it's performed so the log of everything they've done will appear when they generate their job notes.
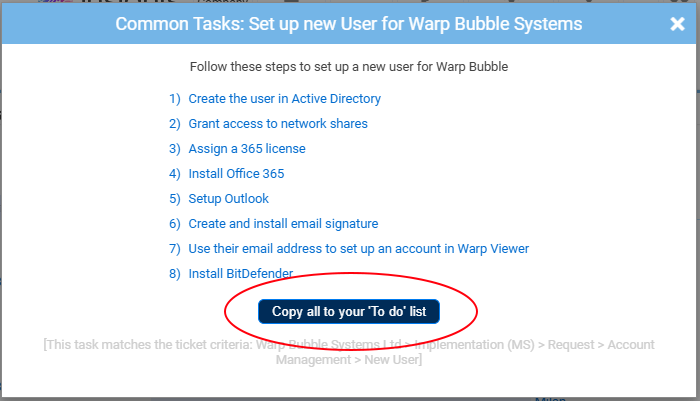 Copy task entries to your To Do list
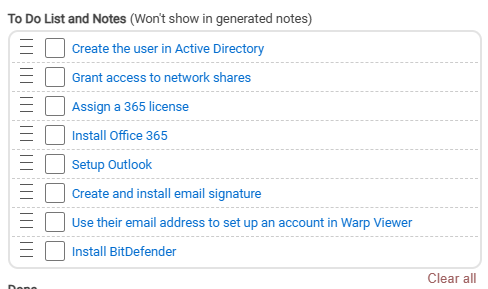 Task entries copied to To Do list
Setting Up Tasks
Clicking the tick box icon on Insights' left hand menu will open the Tasks section.
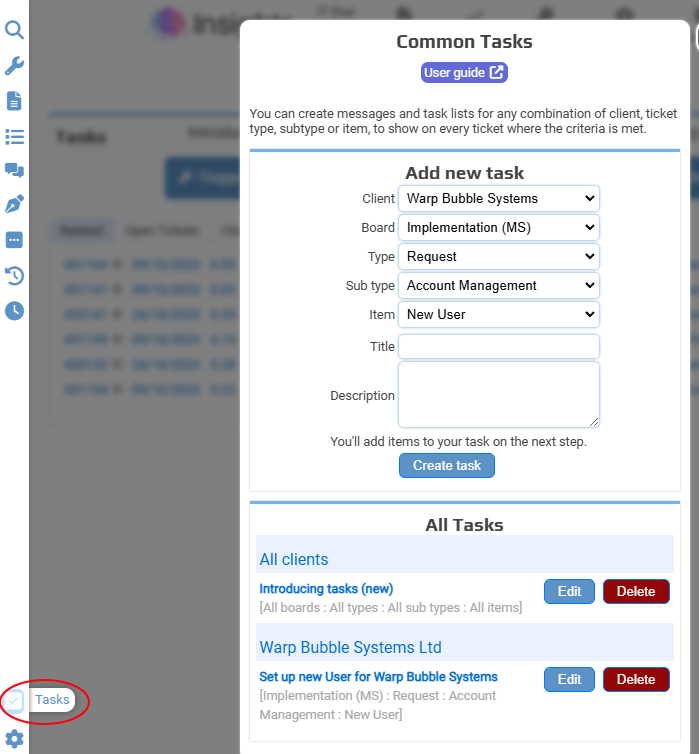 The tasks setup screen can be accessed from the tick box icon in the left-hand menu
You are presented with a list of all existing tasks that can be edited, and the “Add new task” section.
For ease, all of the selectable options, such as Board, Ticket Type etc. are pre-populated to match the ticket you're currently on, but can be changed as required.
The less specific you are, the more tickets the task will show on. For example, if you were to select 'All companies', 'All boards', 'All types', 'All subtypes' and 'All items', the task would show at the top of Insights for every single ticket in ConnectWise.
Give the task a name and an optional description and click “Create task”.
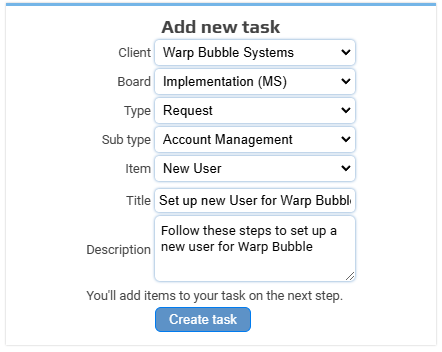 Select the criteria for showing the task, give it a title and description and click 'Create task'
On the next window, enter your task steps line-by-line.
You can create clickable hyperlinks, such as links to your documentation, by putting the full URL inside square brackets, [https://www.google.co.uk]
You can re-order the task steps by clicking and dragging if required.
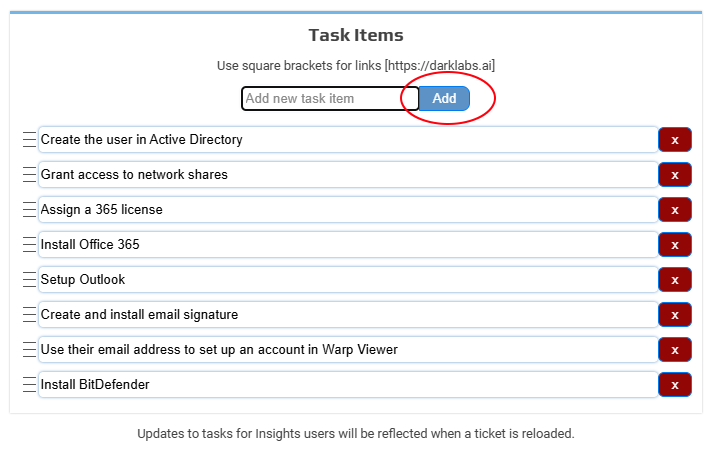 Optionally add step-by-step entries for carrying out the task
Editing Tasks
Any task can be edited by clicking the tick box icon on Insights' left hand menu, then clicking edit next to the task you want to update.
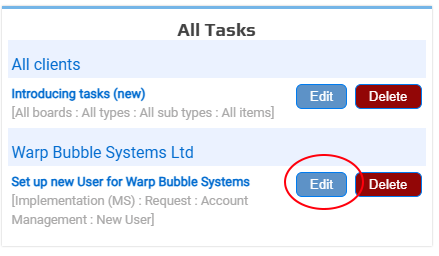 Edit an existing task
Tasks don't have to have a list of task steps. You can simply use the description box for the task if you just want to make important notes or information available at the top of each matching ticket.